A well-designed fence can instantly lift the appearance, privacy, and security of your property — but planning a fence reno in Hawke’s Bay can quickly get overwhelming if you don’t know where to start.
Whether your existing fence is weathered, leaning, or just outdated, here’s a practical breakdown of what to expect during the renovation process — and some helpful tips to make it smoother, faster, and stress-free.
Step 1: Assess the Current Fence
Start by walking the boundary and checking for:
- Rotting or broken timber
- Rusted or loose posts
- Warped panels
- Poor drainage around the base
- Gaps that compromise security or privacy
Take photos of areas needing replacement or repair. If more than 30% of the fence is compromised, a full replacement is usually more cost-effective than patchwork repairs.
Step 2: Know the Regulations
In Hawke’s Bay, fencing projects must comply with local council guidelines, including:
- Maximum height restrictions (usually 1.8m–2m)
- Boundary rules
- Resource consent for certain materials or styles
Tip: If you share a boundary, notify your neighbours in writing and get written agreement before starting. A good fence can improve relationships — but a surprise one might not!
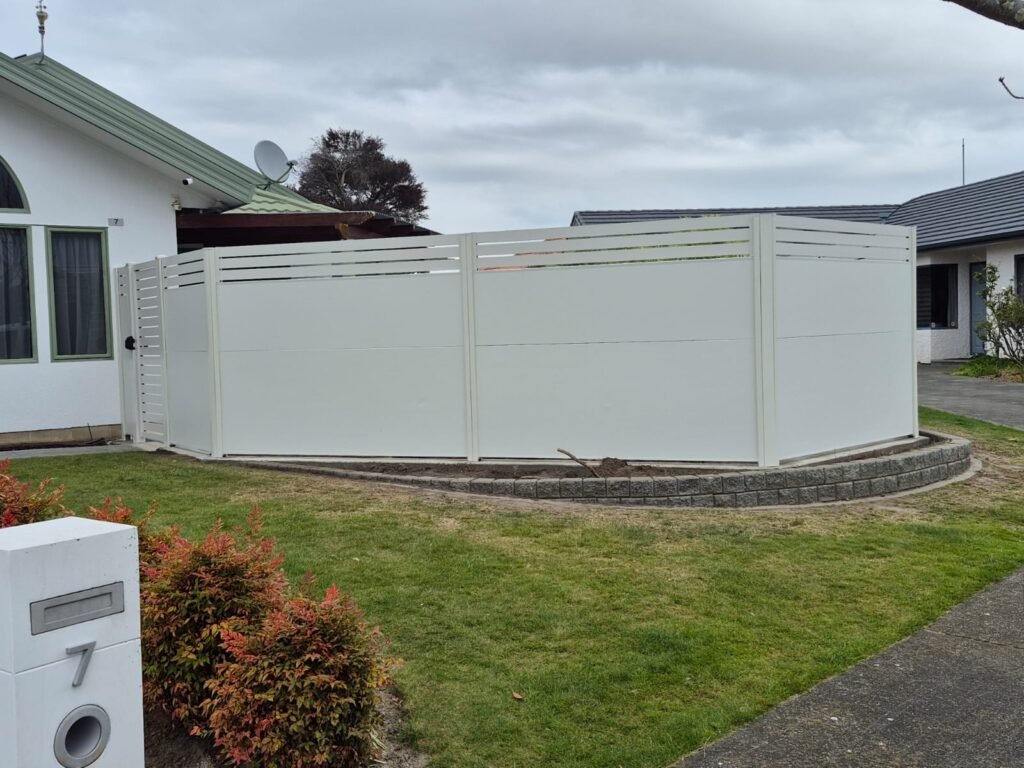
Step 3: Choose the Right Materials
The Hawke’s Bay climate can be tough on materials — hot summers, wind exposure, and coastal conditions all play a role. We recommend:
- Friendly Fence systems (offered by Total Property): Durable, low-maintenance, and modern
- Treated pine or hardwood: Great for classic timber fencing
- Powder-coated aluminium or steel: Ideal for a sleek, contemporary look
Tip: Invest in quality materials up front to save on future maintenance.
Step 4: Set a Budget and Timeline
Pricing can vary based on materials, length, access, and terrain. A typical fence reno in Hawke’s Bay might cost between $180–$400 per metre, depending on your preferences and site conditions.
A standard residential fence can usually be installed in 3–5 days.
Tip: Choose a local contractor like Total Property, who understands regional requirements, weather patterns, and ground types — saving you delays and extra costs.
Step 5: Demolition and Site Prep
Before the new fence goes up, the old one has to come down. This includes:
- Removing panels and posts
- Disposing of old materials responsibly
- Leveling or regrading the site if needed
Tip: Clear plants or obstructions near the fence line in advance to keep the job moving smoothly.
Step 6: Installation and Finishing Touches
Your contractor will:
- Mark post locations accurately
- Use a post hole borer or dig manually
- Set posts in concrete for stability
- Attach panels or slats according to design
At Total Property, we also make sure finishing touches like gates, caps, and sealants are professionally installed for a tidy, polished result.
Tips for a Smooth Fence Reno
- Plan ahead: Book well in advance during summer and spring.
- Work with a local team: Local knowledge is key — and Total Property is Hawke’s Bay born and bred.
- Think long-term: Choose a design and materials that will suit your home and lifestyle for years to come.
- Add value: A quality fence isn’t just functional — it boosts curb appeal and resale value.
Why Choose Total Property for Your Fence Reno in Hawke’s Bay?
We take care of the full process — from planning and permits to installation and clean-up. As the team behind Friendly Fence, we offer modern, low-maintenance options alongside traditional styles, tailored to your property and budget.
No surprises. No shortcuts. Just solid, good-looking fences built to handle Hawke’s Bay conditions.
Ready to start your fence reno in Hawke’s Bay?
Get in touch with the team at Total Property today.